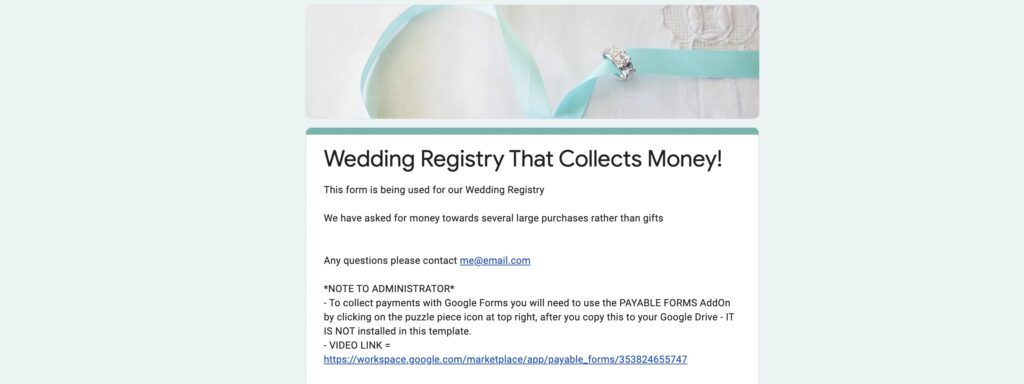
Weddings are complicated enough as it is, and setting up a wedding website, registry page and trying to accept cash (when that’s all you really want!) can be incredibly time-consuming and complicated. But with Google Forms and the Payable Add-On, you can quickly set up your wedding website with all the links and information that your guests will need, and receive cash gifts at the same time that guests RSVP for your big day! And the best part? It takes 10 minutes to get set up, leaving you to focus on the important stuff, like where your third cousin is going to sit at dinner.
Why Use a Google Form for a Wedding Website?
First of all, wedding websites simply take a lot of time to set up. Sure, they may end up looking super slick if you use one of the paid versions or even the free ones that have high percentages taken from gifts submitted through their service. But ultimately, wedding websites just need to have the information about your wedding, a way for guests to RSVP, and a way for guests to see what you’re asking for—and a way to give you those gifts.
And wedding websites, in addition to taking more time to set up, are typically another wedding cost. Wedding websites might start out free, but once you add on all the bells and whistles, they add up. They also take a cut of your cash and use your registry for affiliate links.
And today’s guests generally aren’t memorizing a wedding URL (aka dannyandbeckisbigdayroundtwo.weddings.com)—most invites now come with a QR code to scan, or you can simply use the Google Forms short link to create an easy URL for your guests to type in. (Create a free QR code for your Google Form by using Bit.ly)
Lastly, when it comes to privacy, you can keep your Form private by only sharing it with your invite guest list.
How to Create Your Wedding Registry Google Form with Payable Apps to Collect Cash
Create a Google Form that allows your guests to RSVP for your big day while also nudging them to send you cash for your big purchases.
- Name
- Phone
- Other people in their family/plus-ones they’re bringing
- Meal choice if you’re having chicken/fish/veg options
- Music requests
- Wedding registry options: You can create options to take payments of different values for specific big ticket items, like house down payments or honeymoon expenses with multiple choice options, plus an open-ended one for people who want to give you a different amount. (See the tutorial here for more help formatting your pricing—and the Payable Add-On will also walk you through once you install it.)
- You can also add links to other registries on Amazon or other websites, if you also have a list of stuff that you’re hoping to acquire!
Then, using the Payable Add-On, you can accept cash. Once you install the Payable Add-On and connect it to your payment service (like Paypal, Square or Stripe) In under 10 minutes, you can be set up and accepting responses, without having to set up a fancy new website that you’ll only use this one time, or pay any kind of subscription fees.
As people sign up and pay, their information is collected in the connected Google Sheet. Then, you can quickly reference your Sheet to check who ordered the vegan, gluten-free option, and see how close you are to upgrading to first class seats for your honeymoon.
Why You Should Use Google Forms + Payable
Start by setting up a Google Form, activate the Payable Add-On, and in minutes, you can collect money as new and returning clients fill out your Form and are moved through the checkout process.
While there are other sites that are wedding-specific, creating yours in Google Forms uses a tool that you already have likely used for work to pull it together in no time—and saves you having to delete and unsubscribe from a website when your wedding is behind you.
We know creating Forms can be time-consuming, so we have a whole template library available to help get you started fast. We’ve even created this specific wedding registry template to get you started: Just copy it and make it your own! (Don’t forget to follow the instructions in the template to activate the Payable Add-On and set it to start collecting payments.)

If you need more help, we have a step-by-step tutorial here, or this quick video can walk you through:


