

If you’re using Google Forms to take orders, registrations, bookings, or payments, you might want to collect more than just the cost of your goods or services.
Maybe you need to collect sales tax. Maybe there’s an administrative or processing fee associated with each order. Or, perhaps, you simply need to add a small flat fee to cover packaging or other costs.
With Payable Forms, you can add tax and handling fees directly to your checkout — without complicated formulas, coding, or manually calculating totals for every order.
Here’s how it works:
Add Tax to Your Google Form Orders
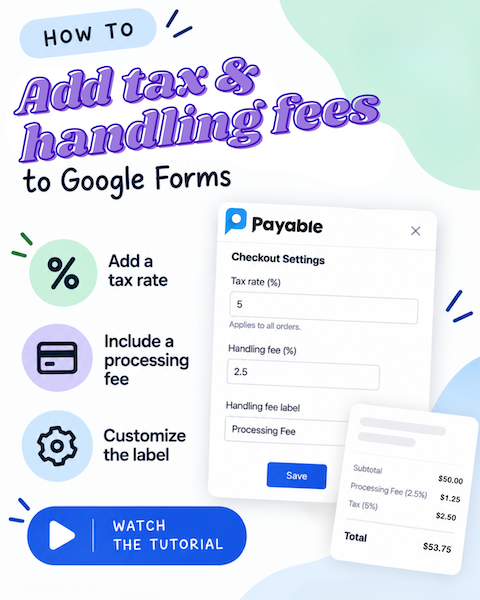
When you use Payable to turn a Google Form into a payment form, you can set a tax rate that is automatically applied to orders at checkout.
To configure it:
- Open the Google Form connected to Payable.
- Open the Payable Forms add-on via the puzzle piece icon in the Google Forms toolbar.
- Select Configure Payment Settings.
- Navigate to Checkout Settings.
- Enter the tax rate you want applied to your orders.
Your configured tax rate will then be applied to orders processed through the form.
One important thing to keep in mind: Payable does not dynamically calculate tax based on the customer’s location. The tax rate you configure is applied to all applicable orders, so you’ll want to determine the appropriate rate for your remittance.
Add a Handling, Processing, or Administrative Fee
You can also add an additional fee to orders placed through your Payable Form.
Payable gives you a few ways to configure it:
- Percentage fee – Add a percentage of the customer’s order total.
- Flat fee – Add a fixed amount to every order.
- Percentage + flat fee – Use a combination of the two.
This gives you flexibility depending on what you’re collecting payments for.
For example, a small business might add an order handling fee, an event organizer could add a ticket or administrative fee, or an organization could use a percentage-based surcharge where appropriate.
Customize What Your Fee Is Called
“Handling fee” doesn’t necessarily make sense for every type of payment — which is why you can also customize the label your customers see.
Instead of Handling Fee, you could use a label such as:
Processing Fee
Administrative Fee
Online Order Fee
Ticket Fee
Transaction Fee
Choose a description that accurately reflects what the fee represents for your customers.
A Simple Way to Build More Complete Google Form Checkouts
Google Forms is an incredibly flexible tool for collecting information, but on its own, it isn’t designed to handle payments, taxes, fees, and checkout.
That’s where Payable comes in.
With Payable Forms, you can turn an existing Google Form into a simple payment workflow while keeping the familiar Google Forms experience. Customers can select products or services, submit their information, and proceed to a secure checkout — while you manage orders and payment information without building a separate ecommerce website.
Tax and handling fee settings give you another layer of flexibility, whether you’re:
- Selling products through a Google Form
- Collecting event registrations
- Taking school or club payments
- Managing fundraiser orders
- Accepting bookings
- Collecting fees for services rendered
And because the fees are incorporated into the checkout process, you’re able to cover your costs of doing business appropriately.
New to Payable?
Start here by installing the Payable add-on for Google Forms from the Google Workspace Marketplace.