


It’s time for fall travel teams, soccer leagues, ultimate frisbee clubs, cross-country team sign ups and school sport registration to begin. Whatever you’re planning, you’re going to need to collect athlete information, payments, and potentially, waivers from parents. Good news: You can do all of this in a Google Form—no fancy website required. There are hundreds of sport organizations and coaches who have used Google Forms with the Payable Add-On to make their sport sign-ups quick and easy to setup… while also skipping pricey subscription fees they don’t need.
In under 10 minutes, your registration page can be live. As people sign up and pay, their information is collected in the connected Google Sheet. Then, you can quickly reference your Sheet to checkin campers when your clinic begins.
How to get started creating your fall sports registration
Simply set up a Google Form, activate the Payable Add-On, and in minutes, you can collect money as your participants fill out your Form and are moved through the checkout process. You can have parents enter info including their name/email, emergency contact, allergy info, t-shirt size—whatever you need! And of course, add a question that lets them pay for their registration.
You can even use Google Forms to include a PDF waiver that parents are required to download, sign and upload to the Form. Simply put your PDF waiver in your Google Drive, set it to share for anyone who has the link, then link to it in a question that allows parents to upload a document. They can download, sign, and upload easily. (Some places allow you to use a simple checkbox agreement waiver, but check with your lawyer as far as which waiver option is right for you, since some states might prefer you have the parent sign a waiver in person when dropping their kids off at camp.)
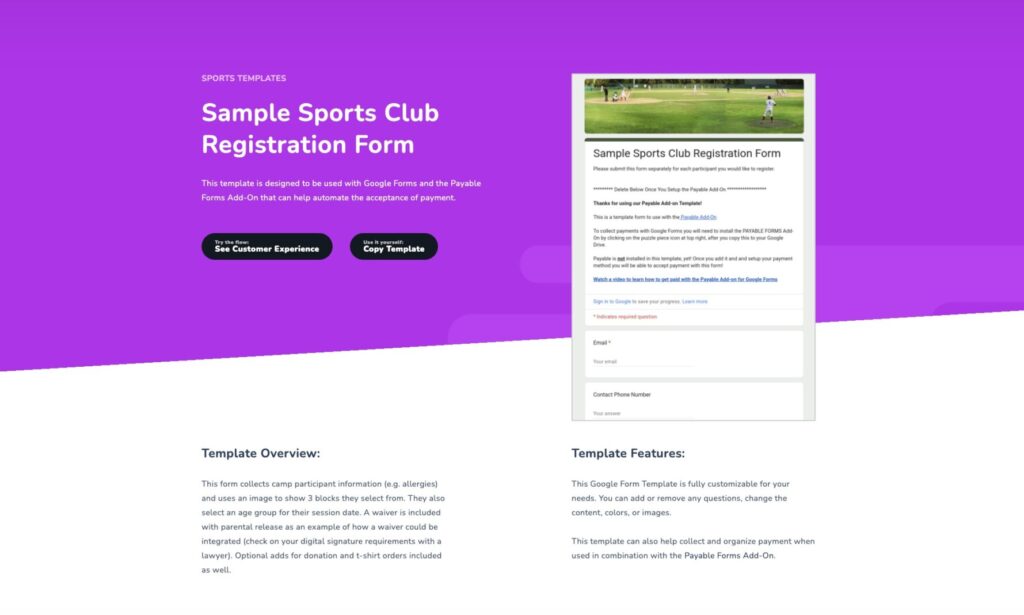
We’ve made it even easier with our Form template library. You can get started with our free Sports Club Registration Form template here: Just copy the Form, then adjust it with the information you need and the pricing you want. (Just remember to install and turn on the Payable Add-On in order to start taking payments!)
Need more help? We have a full tutorial right here: