If you’re a non-profit hoping to increase donations by using a Google Form and the Payable Add-On, there are three simple ways that you can collect payments using Google Forms and Payable, making it simple to collect money for your charity or nonprofit and have it land in your bank or PayPal account instantly.
With any of these payment collection methods, don’t forget to be descriptive: Let people know exactly where their money is going. If you’re a registered non-profit, include that information. Share what each amount can do for your non-profit or charity. If someone donates $100, what change can you make with that? What about with $5000? The more information you can provide, the easier it is for people to understand why their donations matter.
If you want to learn more about the art of asking for donations, U Berkeley has some great research-backed tips right here. And to get started with your Form, read on!

Create a One-Time ‘Choose Your Donation Amount’ Option
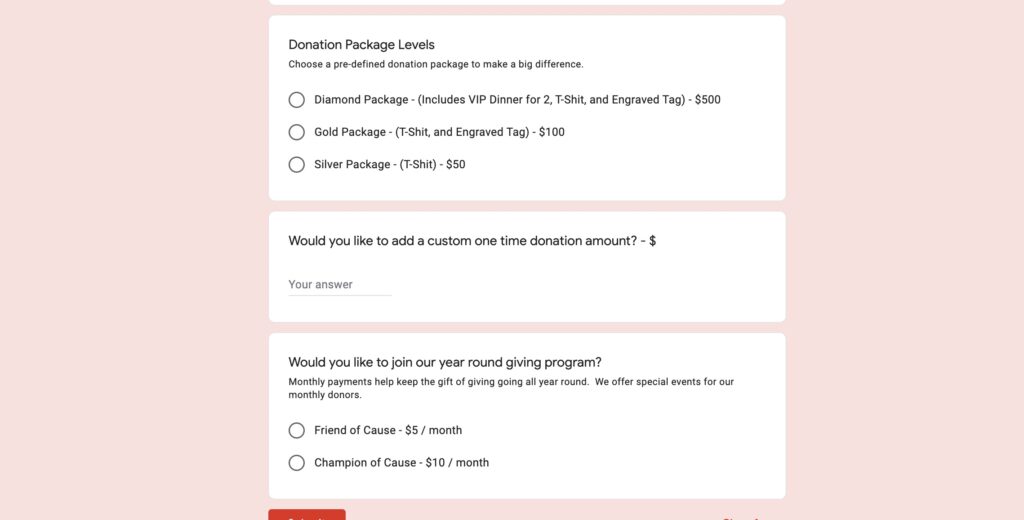
Many people prefer to choose how much they want to give, so offering the option to just write in the exact amount they want to donate is a great choice. Set this up by simply including a short answer question asking how much they would like to donate.
NOTE: You will need to remind users that they’ll need to type in their currency sign ($) before the amount, i.e. $50 instead of 50 for this option to work with the Payable Add On.
Leaving this completely open can sometimes backfire! It might be a good idea to offer a ‘recommended donation amount’ or combine this with one of the other donation collection options below.
Create a One-Time Option with Several Choices for Donation Amounts
For the sake of ease—and potential for higher donations—we recommend actually setting donation options, either as your only way of donating, or as your primary way to donate, and if you’d like, you can add an alternative section for entering another amount.
First, it simplifies the formatting and helps make it easier for your donor. For less tech-savvy donors, remembering to type in the appropriate $ sign before the amount they’re donating can be complicated or easy to forget. And chasing donations is time wasted!
And more importantly, by setting suggested amounts for giving, you’re more likely to receive higher donations. If you leave the choice of how much to donate completely open-ended, rather than offering options of $10, $50 and $100, you’re more likely to end up with donations under $10.
If you’re using this method, you may even want to include little notes about what each tier of donations will help with: Will $20 provide back to school supplies for 2 kids? Will $500 help a refugee family pay rent for a month while they rebuild their life? Get specific.
Create a Donation ‘Subscription’ for Monthly Giving
You can create a monthly, weekly, or yearly subscription for a donation that will automatically come out at the interval you choose. This is a great option for continuous programs like homeless shelters or soup kitchens to encourage smaller regular gifts (it’s often easier for someone to select $5 per month than to give $60 right now, even though over a year, it amounts to the same thing). It’s also ideal for churches or other programs with regular donations that are typically collected on a weekly basis.
Set this up the same way you would set up the multiple choice option, but after the dollar amount, add a / TIME. For example: $5 / month will then automatically charge the person $5 each month once they go through the checkout process.
Remember, You Can Combine These Options
You can set up your Google Form to collect multiple styles of payment, so feel free to mix and match all of these options in a single form!
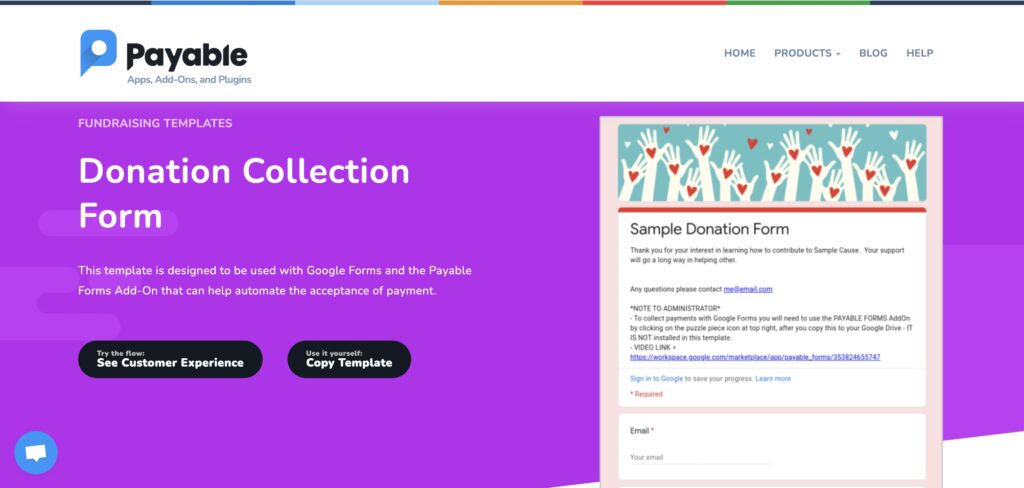
Getting started with all three of these options is easy—to use our template Donation Form to get started, click here and select COPY TEMPLATE:


