

If you’re selling a subscription as a personal trainer, dog walker, yoga teacher, pre-made meal delivery service or any other service that requires recurring payments, you can use Google Forms to create a subscription—and get paid right with in the Form. This saves you having to set up an entirely new webstore or register with another site that will take a hefty percentage of your profit (or charge you a monthly fee to use) by using the Payable Forms Add-On.
That’s right: You can make a Google Form accept recurring payments for subscriptions using Payable Forms Add-On!
All you need is a Gmail account and a PayPal account to get started selling in 10 minutes.
Payable integrates with Google Forms to allow you to create a simple Checkout form for your subscription—including whatever information you need from your clients—and then sets up the recurring payment as well! It’s easy to use, and keeps things simple for you and your customers.
Here’s how to get started creating a new Google Form or adding payment processing to an existing form:
Sign in to Google. Head on over to forms.google.com and if you do not have a Google Account, click the “Create account” button to get setup. If you’re already signed into Google Accounts, make sure that you’re signed in with the account that you want to use to create your Payable form, and that you are signed out of all of your other accounts when you create the Form.
Now, it’s time to make your Form Payable!
Click here to get the Payable Forms Add-On from the Google Workspace Marketplace.
Select “Install.” (For most cases, “Individual Install” will work fine. If you are an administrator and you want to install this application for the entire domain you manage, you can use the “Domain Install” instead.)
Create your Google Form. Once the Add-On is installed, you can start a new (or edit an old) Google Form. You may need to refresh the page: Look for the puzzle piece in the title bar to appear, and select it. You should see the Payable Forms Option. Select “Make this Form Payable.”
Make sure “Automatically collect email address” is turned on in the form. Also check in the Settings that when you share it, you can share it with everyone, not just people within your domain or Google Workspace.
Now, add the fields you need to the Form. You can delete and add questions as needed. Make sure to set your Google Form Title, Description, Theme, and Questions. Make sure in the questions, you get all the information you need, including sizes if you’re selling something like t-shirts, and addresses for shipping if needed.
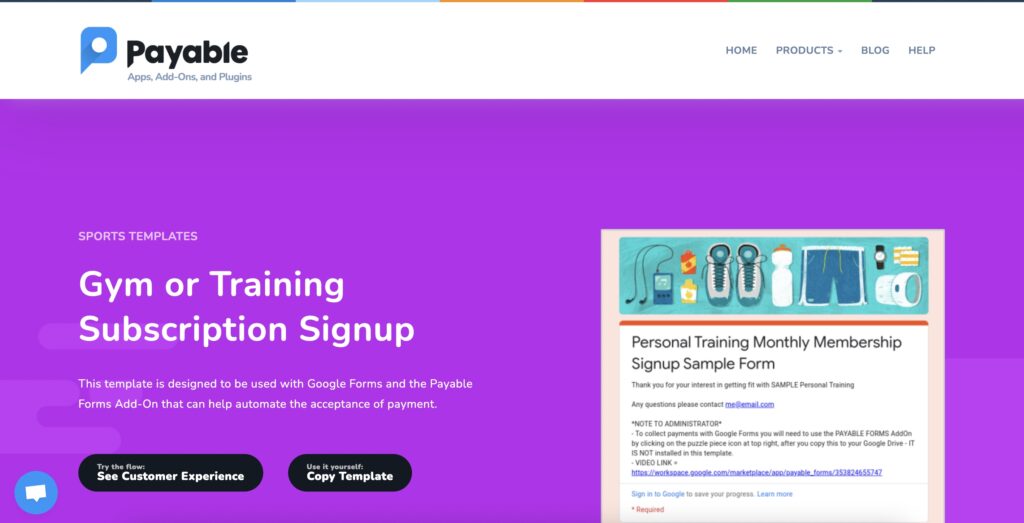
Struggling to create the form? This is our template with a subscription (for a gym membership, but you can make it your own!):
https://www.payableplugins.com/templates/forms/sports/gym-training-signup.html
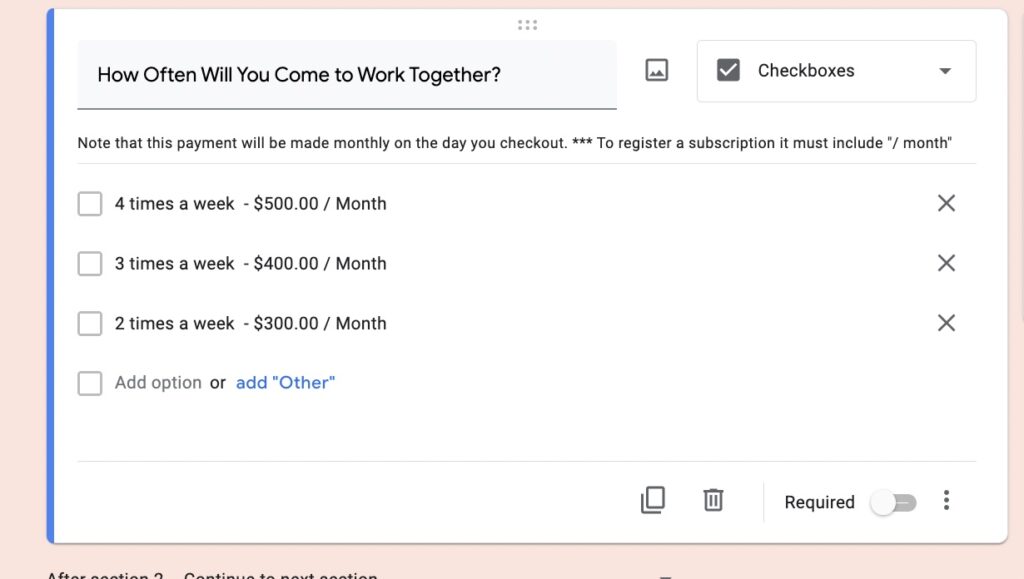
Create options for buyers. If you have multiple options (like different sizes for boxes of vegetables to be delivered weekly from your farm CSA), you can use a Checkbox Grid to allow people to choose multiple sizes and options, or a simple Checkbox list to select multiple color or size options for less complicated orders. You can also choose to use a Dropbox style to select a single option.
Set your price. To set the price, {item label} – {money amount} / {day} in the product checkbox or dropdown.
The money format required will change based on currency, language, and country of the seller. Remember, what goes before the money amount gets added to the invoice / receipt, and the money amount should match the format exactly as shown in the Getting Started sample in the sidebar of the Payable Add-On.
To set how often your client is getting charged in your subscription, add / TIME after the price (Day, Week, Month, Year). NOTE: The subscription will recur indefinitely until you cancel it from your payment provider.
Remember to add notes like how quickly orders will ship (and if you’ll ship to other countries), and leave space for people to add addresses if you are shipping. You may even have a variety of shipping options to choose from in a Checkbox, like a free pickup, a standard flat rate and an express rate for shipping.
If you have a limited amount of goods, you can also limit the amount of the responses you will accept within Settings.
Configure your Form and Payable Plugin. Follow the steps in the dialog window to automatically configure your Form and the Payable Plugin.
You’ll set things like default currency, and use the Payable Forms sidebar to complete the setup. It will guide you through connecting to your Payment Provider: In order to accept payments you will need to hook up your payment provider of choice—PayPal is the most common payment processor that people connect to Payable. In PayPal, people can still pay you with credit cards, so don’t worry that people need a PayPal account to get you paid. As you set up PayPal, you’l need to login to your PayPal account and verify it, and may need to confirm your email address if you haven’t before.
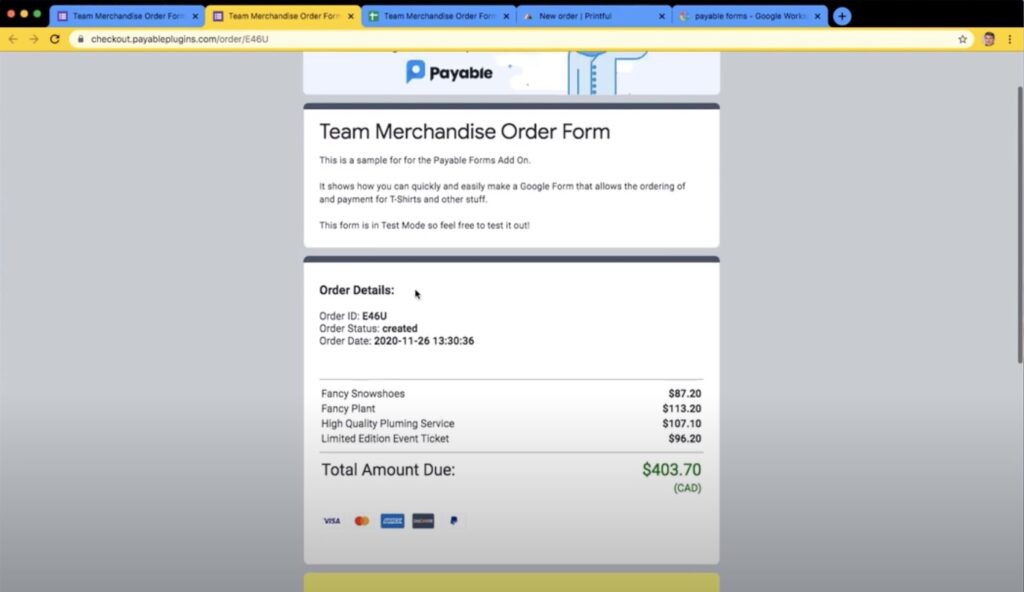
This process also automatically takes your Title, Description, Colors, and Header Image, and syncs it with the Payable Secure checkout. This allows your users to see a consistent look and feel as they click through from your Google Form to the secure checkout page which is hosted by Payable—it will just look as though they never left Forms.
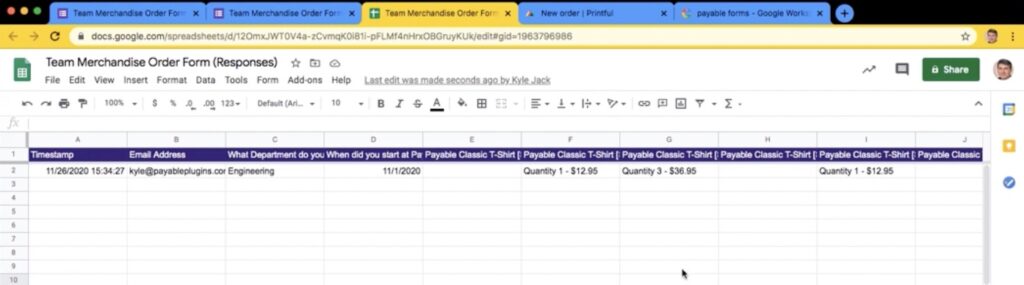
A Customized Google Sheet will be created in the process. This is where your form responses will go automatically. Payable Forms adds some extra columns to automatically keep track of payment status and the generated Payable ID. Each time someone uses your Form, this Google sheet will update so you can see all of your orders, sizing and shipping information.
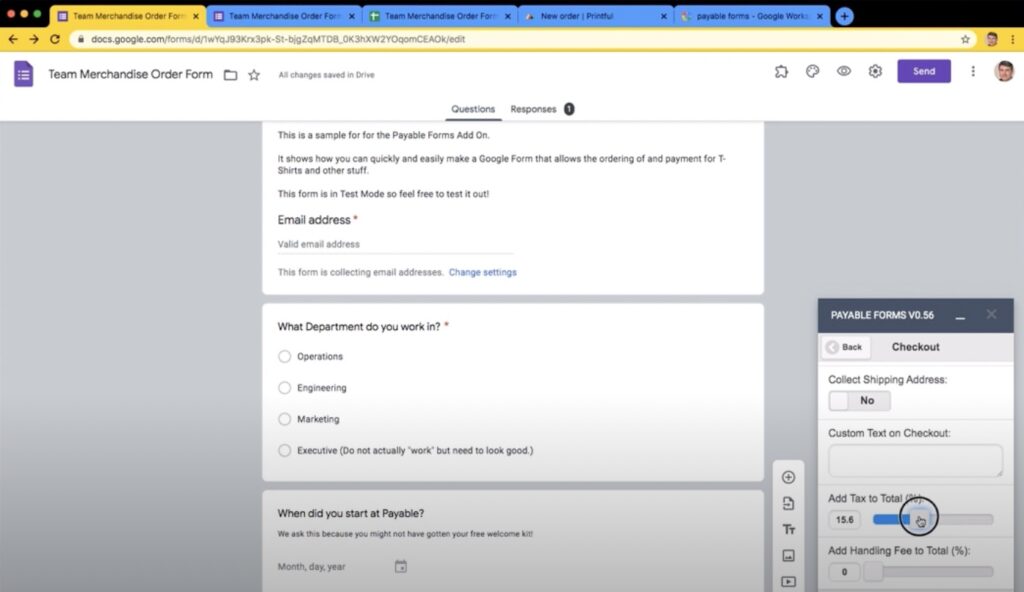
You’ll also want to add currencies, as well as any additional charges like taxes (configuring the slider to add a certain percentage) or a set shipping/handling charge.
Test your Form. One you’re set up, you’ll want to make a Test Transaction to see what your users would see while experiencing the secure checkout and taking a look at how the connected Google Sheet automatically updates. Don’t skip this step! It’s important to make sure your payment options are all adding up correctly.
To go live, you’ll have to turn off “Test Mode” in the sidebar when you are ready to move real money.
Want to see the whole process? Check out this full YouTube video to watch a t-shirt maker go through the entire setup process:
To use our template Form for a subscription to get started, click here and select COPY TEMPLATE:
Now, you’re ready to start getting paid! Share the Google Form with friends and potential customers. (Make sure to use the SEND button at the top to get the shareable link, don’t just take the link to the address where you’re editing the Google Form!)
If your friends get started on your Form and leave without paying, don’t worry: Payable will automatically send them a link to remind them to finish their checkout.
Happy selling!