

While thousands of small business owners and side hustlers use Payable with Google Forms for clients to order and pay for goods or services, did you know that you can also use Payable and Google Forms in order to easily create and send out invoices to clients? This can be a huge timesaver if you regularly send similar invoices to your clientele, but you can’t rely on them to put their orders in.
Whether you’re a coach or a contractor or a repair person, using a Google Form to create an invoice that adds up what your clients have purchased, then sends them an itemized invoice with a link to pay via Payable simplifies your invoicing process and can save your clients serious hassle.
You may even find that you use this Form as both an ordering method that a client can use on their own to schedule a service or buy a product from you, while also being able to send invoices to clients who aren’t as tech-savvy.
While you can also use a platform like Quickbooks to keep track of incoming funds, the Google Sheet that’s created with your Google Form to record invoice information will keep track of who’s paid and who still owes you money—plus, it allows you to send reminders to people who still haven’t paid that last invoice.
Enter Google Forms and the Payable Add-On. With Payable, you’ll be able to not only send an invoice, your client will receive a link to a payment portal so you can get paid in the same spot. And Payable only makes money if you do: No subscription fees required. Simply connect to your payment processor (like Stripe, Square or Paypal) and start invoicing.
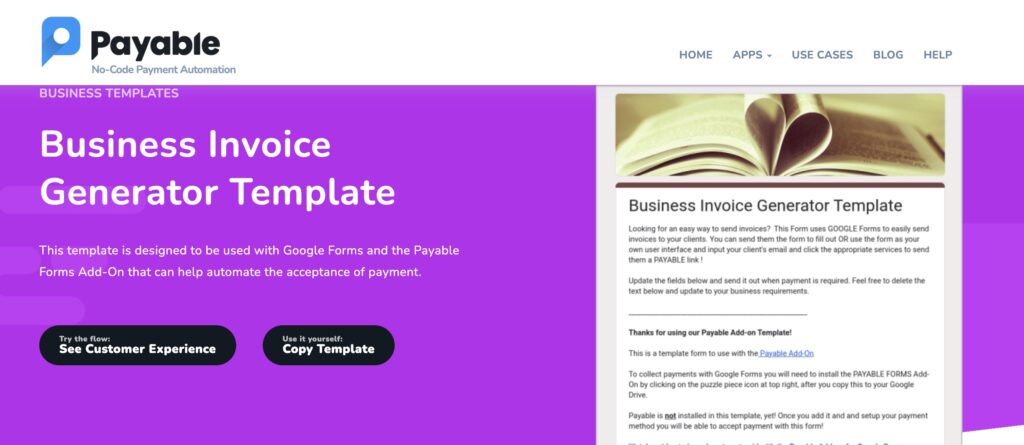
Setup is simple, and there’s even a free invoicing template available to help get you started creating invoice options, including different payment options like single line items to add to purchase, check boxes, open-ended dollar options you can toggle as needed, and even options to create recurring subscription payments.
One important note: When you set up your Google Form, you’ll need to make sure you’ve selected a way to collect emails in order for the Payable Add-On to work. But you don’t want to default to your email being the email in the Form, since you’ll want to add your client’s email in order for them to receive the invoice. So, in the Form Settings, Google now offers three options: Verified, Responder Input, and Do Not Collect. Make sure you select Responder Input so whoever is filling out the Form (whether it’s you or the client) can choose the email they prefer to use.
Then, to send your clients invoices, simply fill out your own Form (you may find it easier to do this in an incognito browser) using your client’s name and email, and when you submit it, your client will receive an email with all the invoicing details and the link to pay. (You can customize what they see in the email in the Payable Add-On’s settings to create a more customized invoice experience.)